ClickFORMS – Property Data Importer
Importing Property Vendor Data
To use the Property Data Importer, you must first export a file from your property vendor of the subject, if needed, and comparables you want to use in your report. The Property Data Importer imports data from these vendors: Win2Data, MetroScan, DataExpress, ParcelQuest (CA only), RealQuest (Standard), and RealQuest (Custom).
This export file will be saved on your computer. You may save your property vendor data Export file to: Documents/My ClickFORMS/Data Imports/ folder. However, you may save your file to another location on your hard drive or a cloud storage account such as Dropbox. Make sure you know where to browse to locate your exported property vendor data file.
Access the Property Data Importer
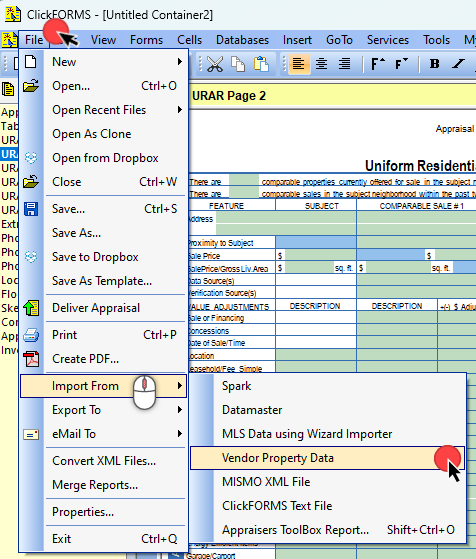
- From the ClickFORMS main menu, click "File", mouse over "Import From", then click "Vendor Property Data".
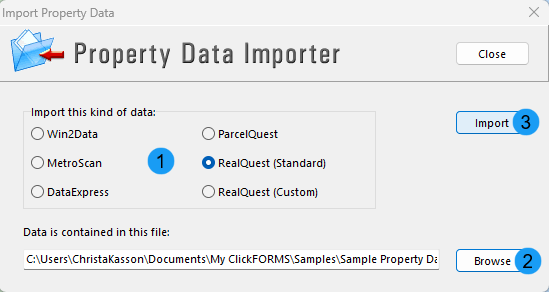
- Click the "radio" button for your Property Vendor. "Browse" to retrieve your file, then click the "Import" button.
- The "Import Property Data File" window appears displaying your data from your property vendor. Click the "Next" button.
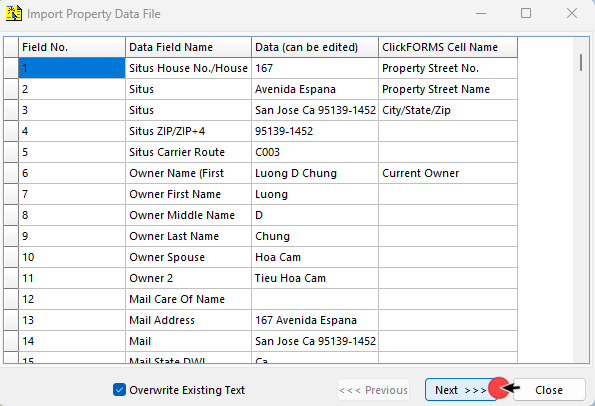
- Under the "Import To" column, select where each comp will go in your report. When finished, click the "Import" button.

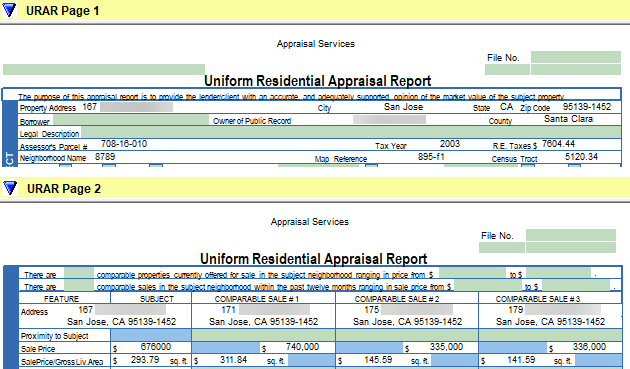
- Your Subject information, if selected from the previous screen, will appear on Page 1 of your report. Your Comparable information will appear in the Sales/Listing grid.