ClickFORMS Flood Maps
Before using the Flood Map service, you must complete your subject property address on page 1 of your report.
-
Access Flood Maps
There are two different ways to access Flood Maps in ClickFORMS.Option 1: From the main ClickFORMS menu click on Services, then select Flood Maps.
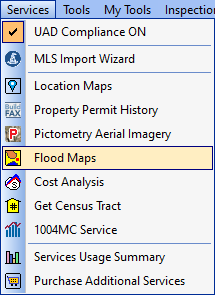
Option 2: If you have the "Workflow Toolbar" (View → Show Workflow Toolbar) visible, simply click the Flood Maps icon.

Flood Maps Service
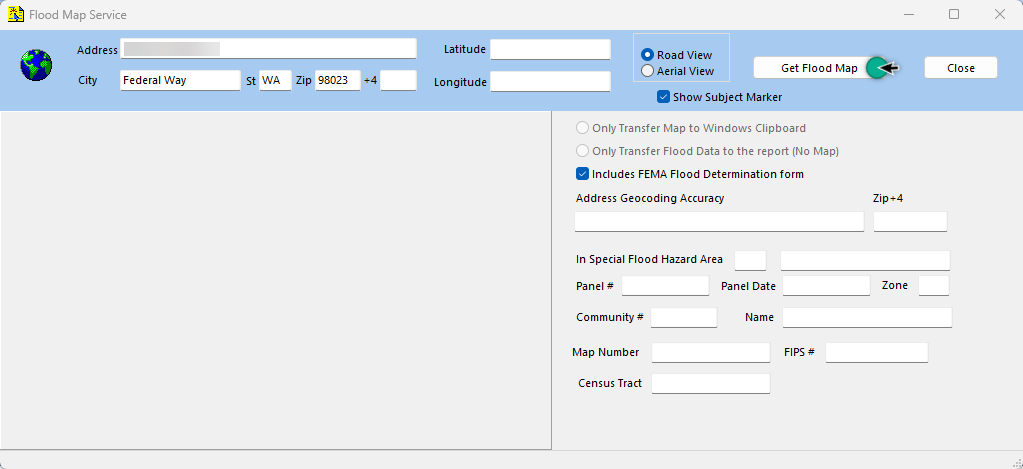
The Flood Maps Service window will appear displaying options to select Road or Aerial View, Show Subject Marker and Include FEMA Flood Determination form. Once your selections have been made, click the "Get Flood Map" button.
Transfer the Flood Map to your report
The details are automatically retrieved for your Flood map. Click on the "Transfer to Report" button.

-
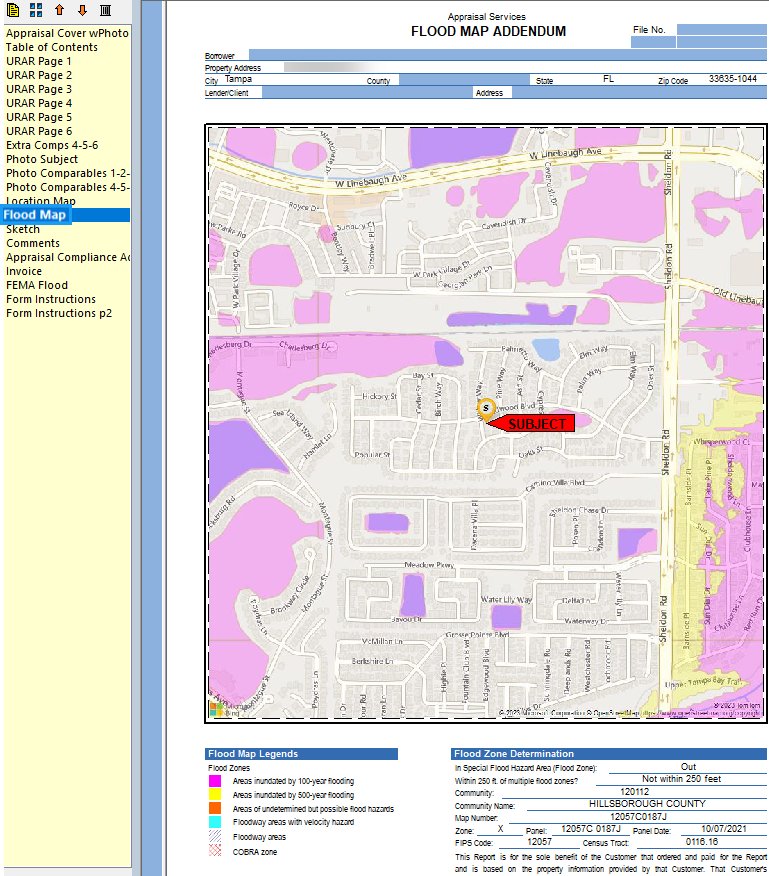
View your Flood Map under the Flood Map form in your Form's Manager column.
-
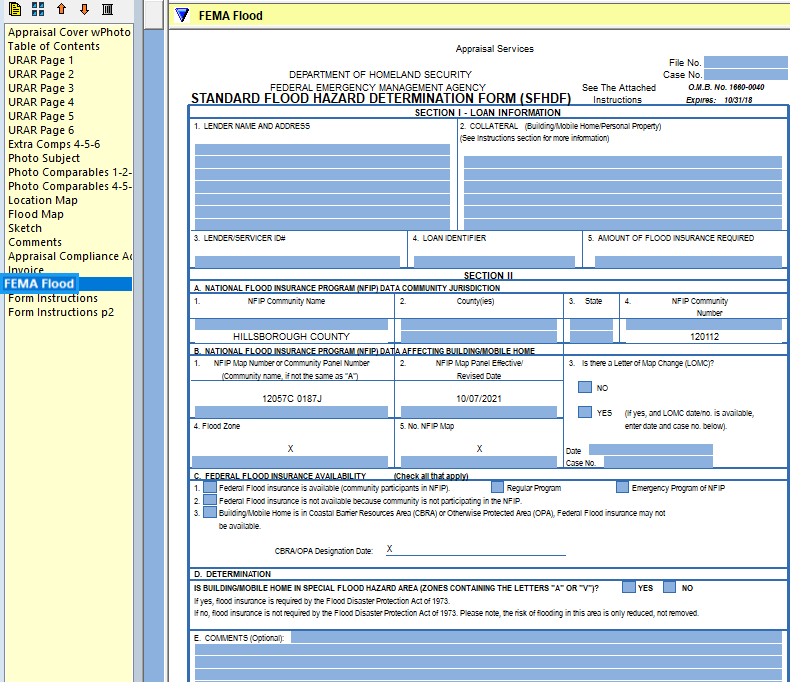
If you checked the box to "Include FEMA Flood Determination Form", it is visible under the FEMA Flood in your Form's Manager column.