Create an XML and ENV Report (not for direct upload to AppraisalPort)
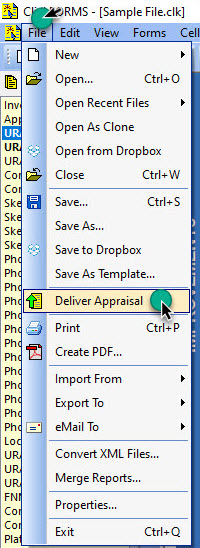
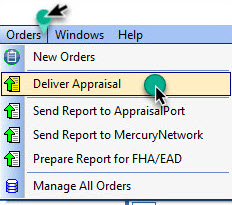
- There are two ways to access the Deliver Appraisal… function.
Option 1: In ClickFORMS, click the File menu and select Deliver Appraisal…
Option 2: In ClickFORMS, click the Order menu and select Deliver Appraisal…
-
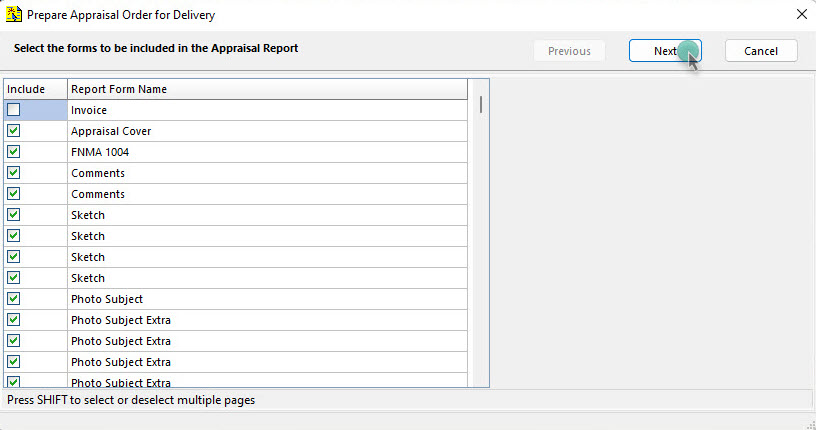
Select the Forms to be Included in the Report
By default, most forms will already be selected. Make sure that all the forms you wish to submit are selected. When ready, click the Next button.
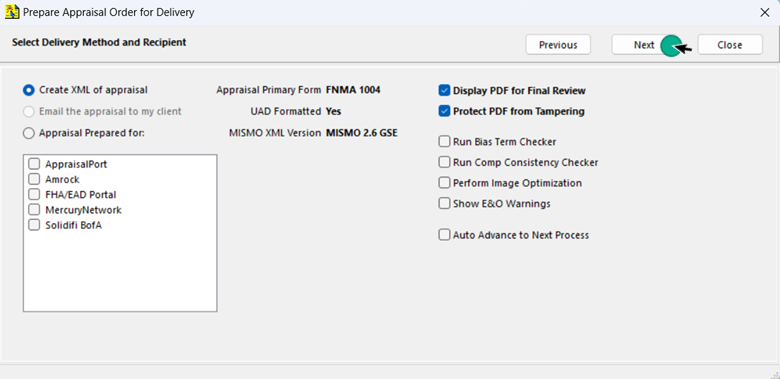
Select Delivery Method and Recipient
By default, the Create XML of appraisal radio button will be selected. Check the appropriate boxes from the right column to customize the XML generation process, then click the Next button.
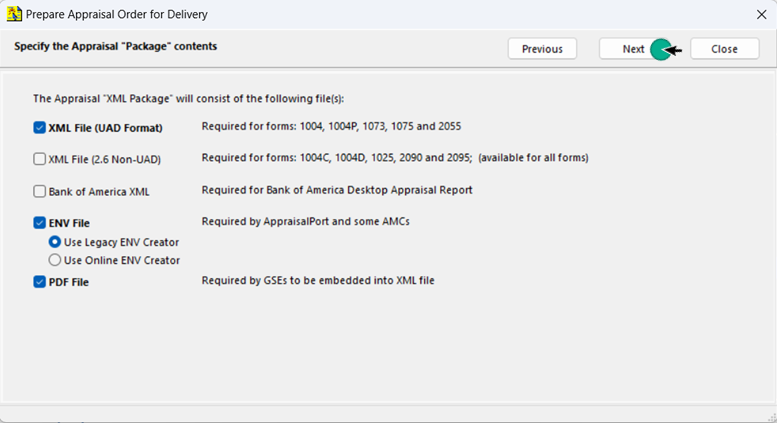
Specify the Appraisal Package Contents
For UAD reports, the options below are pre-selected. For MISMO reports, check the appropriate boxes for your appraisal package. Make sure to check the ENV File box, then click the "Next" button.
-
Create ENV File of Appraisal Report
The ENV Creation window appears. Click the 'Create ENV' button. This process may take a minute or so.
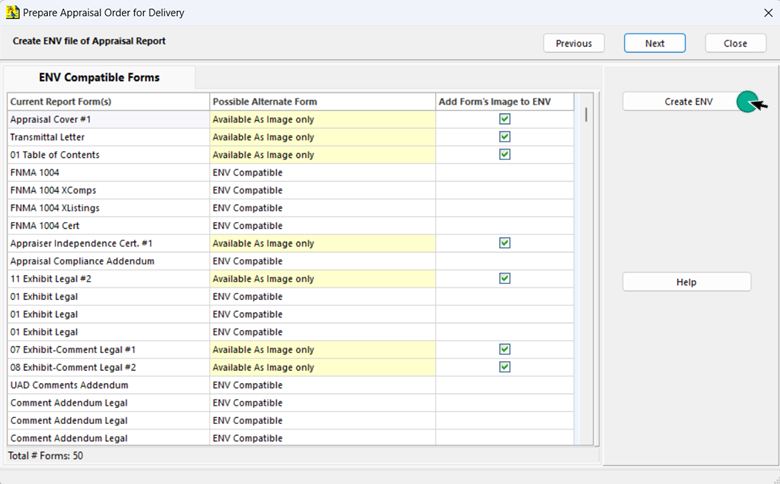
After the ENV is created, a preview of your ENV file will appear. Simply click the Next button. -
The PDF File of Appraisal Report
ClickFORMS will automatically create the PDF for you. Click the "Next" to proceed.

Saving your ENV, XML and PDF Report
To Save all files (ENV, XML & PDF) to the same file folder on your PC, click the "Save all files to" checkbox, then click Browse to choose a location. The location chosen will now be the default location for all future saved ENV, XML and PDF files. Next time, simply click the Save All button. The example below shows how to save your ENV, XML and PDF files in locations on your PC.
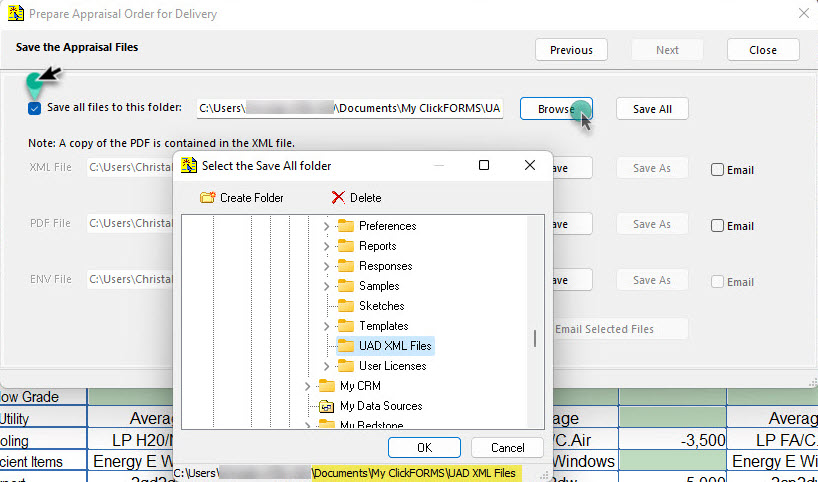
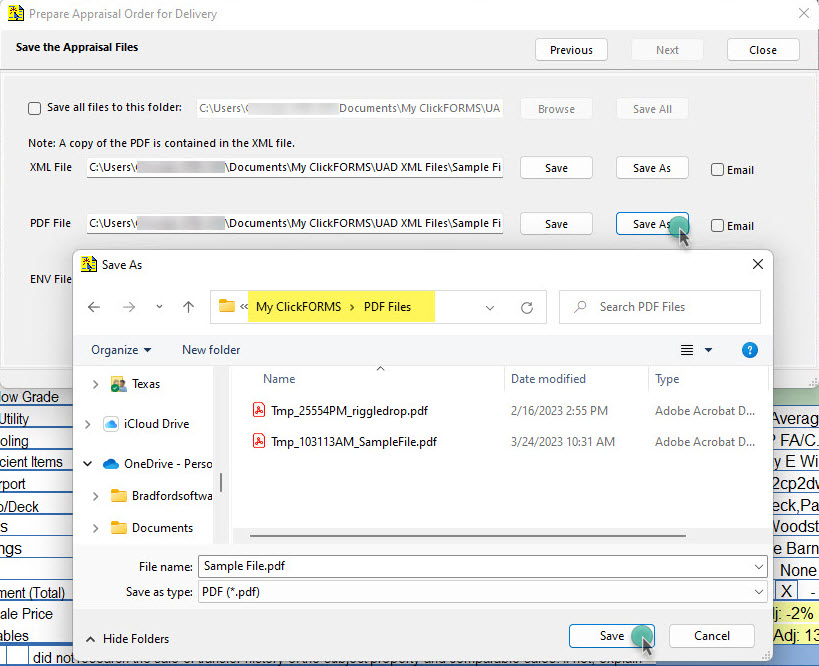
To save the ENV, XML and PDF file in separate locations, make sure the box "Save all file to" is unchecked. Click the "Save As" button. Choose a location to save your XML file. The example below shows the PDF file being saved to: Documents\My ClickFORMS\ PDF Files. Repeat these steps for the XML file and the ENV file.
When finished, simply click the 'Close' button.